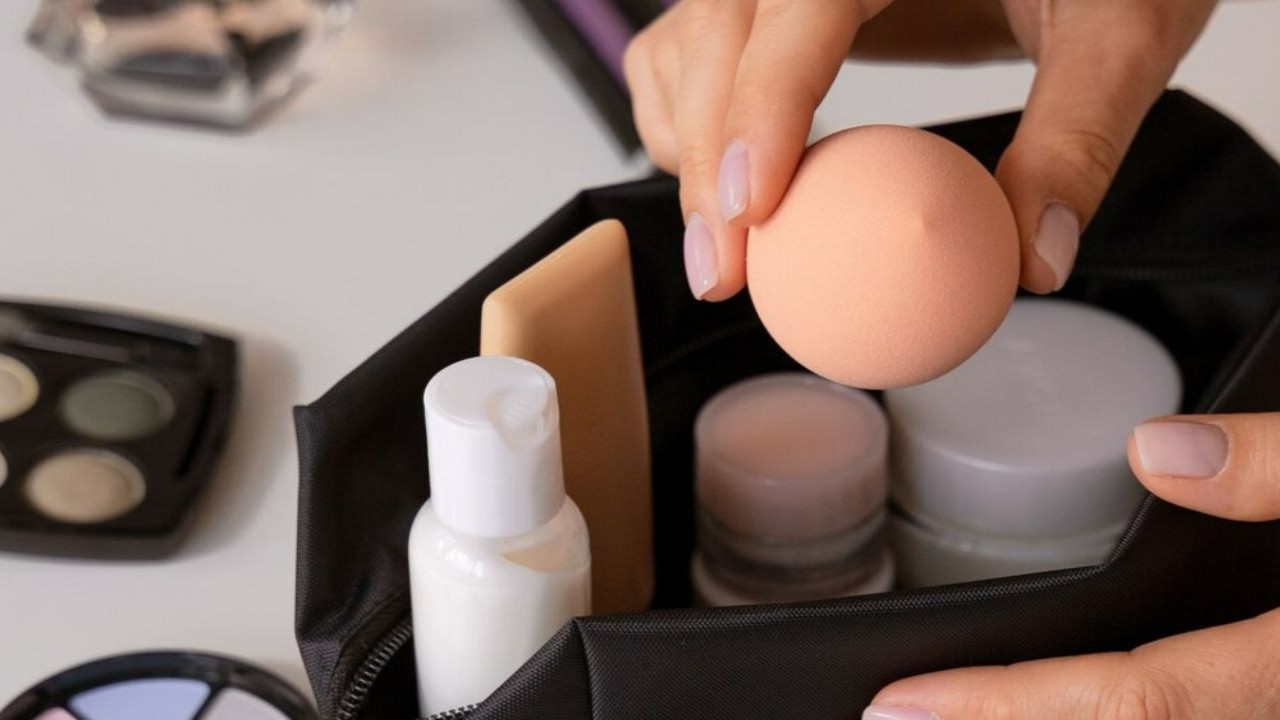
Here’s how to effectively wash your beauty blender. Explore the best methods to keep it clean, bouncy, and ready for use with this detailed, step-by-step guide.
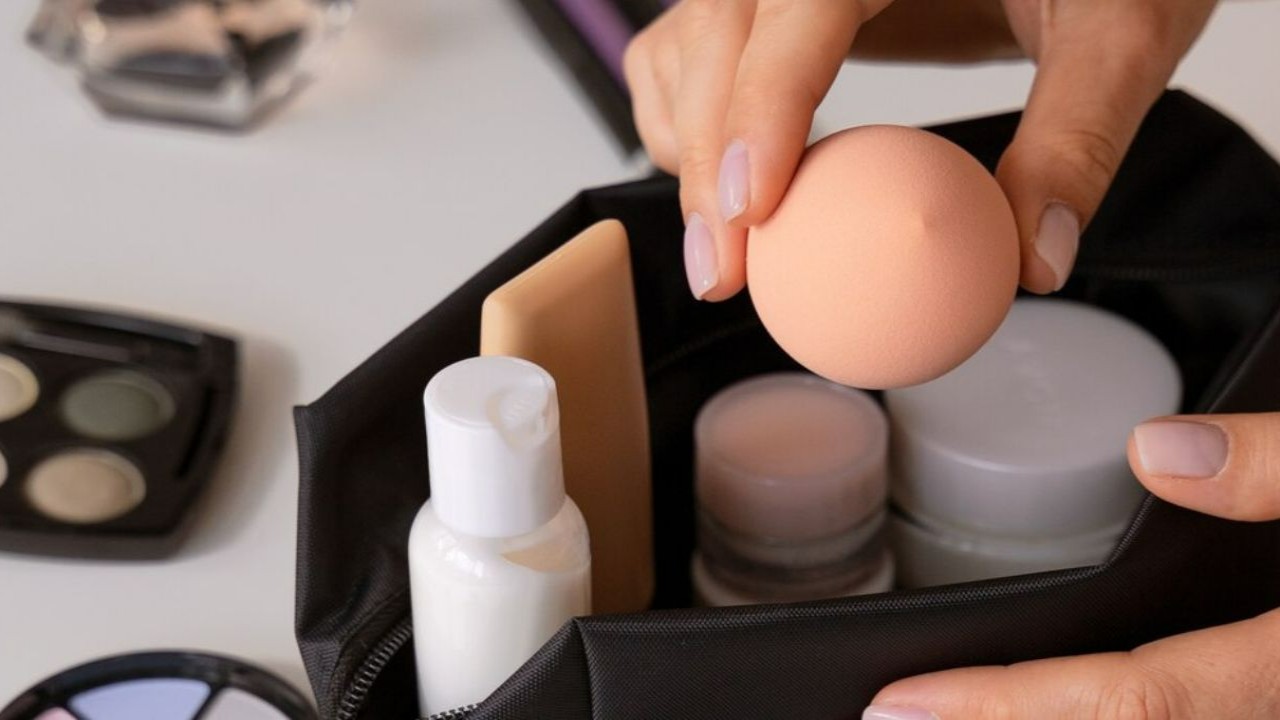
If you’re like us and have a collection of beauty blenders in various shapes, sizes, and colors, you know how crucial these tools are for perfecting your makeup. But let’s face it—keeping those frequently dirty sponges clean can be a challenge. We’ve all experienced the frustration of seeing our beloved sponges break down, lose their bounce, or end up in the trash because we couldn’t figure out how to wash them properly or maintain their condition.
To help you clean your sponges the right way, we’ve compiled a detailed guide. We’re here to help you extend the life of your beauty blenders, ensuring they stay as soft, clean, and effective as the day you first used them. Whether you’re dealing with stubborn stains, looking for the best cleaning methods, or wondering how often you should wash your makeup blender, we’ve got you covered.
Swipe down to discover step-by-step instructions and methods that will keep your beauty blenders in perfect condition, helping you save money and achieve that flawless finish every time!
How to Wash a Beauty Blender

Keeping your favorite makeup sponges clean is crucial for maintaining skin health and flawless makeup application. Dirty beauty blenders can harbor bacteria, oils, and leftover makeup, leading to breakouts and uneven application. This guide explores several methods for cleaning your beauty blender, detailing what you need and how to do it effectively. We’ll also cover how often you should clean your beauty blender and when to replace it.
Cleaning Your Beauty Blender with Soap
What You Need:
- Gentle liquid soap or solid cleanser
- Warm water
Method:
- Wet the Beauty Blender: Thoroughly wet the blender with warm water, squeezing it a few times to ensure it’s fully soaked.
- Apply Soap: Dispense a small amount of gentle liquid soap or use a solid cleanser directly on the beauty blender. Focus on areas with the most makeup buildup.
- Massage and Lather: Gently massage the soap into the blender with your fingers, squeezing and rolling the sponge to create a lather.
- Rinse Thoroughly: Rinse under warm running water, squeezing repeatedly to remove soap and makeup residue until the water runs clear.
- Dry: Wring out excess water with a clean towel and air-dry in a well-ventilated area, ensuring there are no damp spots.
Cleaning Your Beauty Blender with a Microwave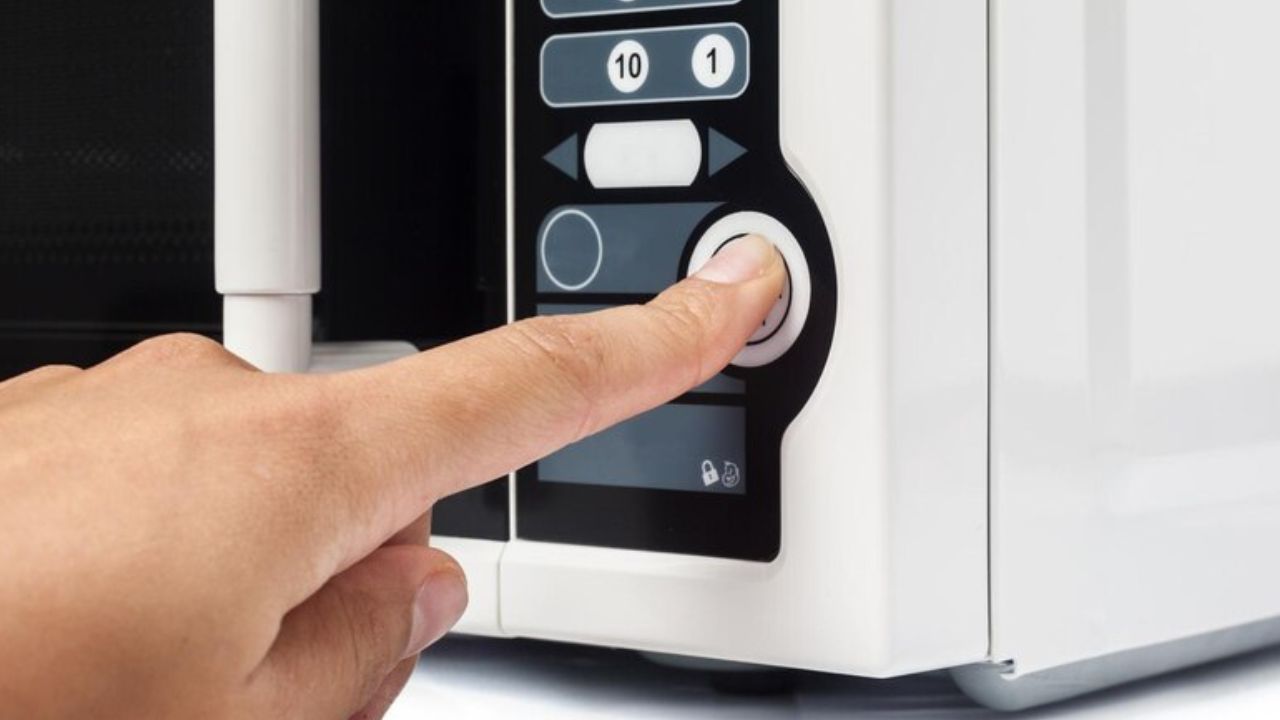
What You Need:
- Microwave-safe bowl
- Gentle liquid cleanser
- Warm water
Method:
- Prepare the Solution: Fill a microwave-safe bowl with warm water and add a small amount of gentle liquid soap. Mix until dissolved.
- Submerge the Beauty Blender: Place the beauty blender in the sudsy water, ensuring it is fully submerged.
- Microwave: Heat the bowl on high for about one minute. The heat helps disinfect and break down makeup residue.
- Cool and Rinse: Carefully remove the bowl and let it cool. Once cooled, remove the beauty blender and rinse under running water until clear.
- Dry: Squeeze out excess water with a clean towel and air-dry.
Cleaning Your Beauty Blender with Oil
What You Need:
- Oil (e.g., coconut oil, olive oil, or baby oil)
- Liquid antibacterial soap
- Warm water
Method:
- Apply Oil: Apply a small amount of oil to areas with heavy makeup buildup. Massage the oil into the sponge.
- Add Soap: Once the makeup is loosened, add a few drops of antibacterial liquid soap and massage to create a lather.
- Rinse Thoroughly: Rinse under cool running water, squeezing repeatedly to remove oil, soap, and residue until clear.
- Dry: Squeeze out excess water with a clean towel and air-dry.
Cleaning a Beauty Blender with a Pad
What You Need:
- Cleansing pad or silicone scrubber
- Gentle liquid soap
- Warm water
Method:
- Wet the Beauty Blender: Wet the sponge with warm water.
- Apply Soap: Apply a few drops of gentle liquid soap to the cleansing pad or directly onto the sponge.
- Scrub on the Pad: Rub the blender against the pad in a circular motion to lift and remove makeup.
- Rinse Thoroughly: Rinse under warm running water, squeezing repeatedly to remove soap and residue until clear.
- Dry: Squeeze out excess water with a clean towel and air-dry.
Cleaning Your Beauty Blender with the Surface Method
What You Need:
- Flat, clean surface (e.g., bathroom sink or countertop)
- Gentle liquid soap
- Warm water
Method:
- Wet the Beauty Blender: Wet the sponge with warm water.
- Apply Soap: Dispense a small amount of gentle liquid soap onto a flat surface.
- Rub on the Surface: Rub the blender back and forth on the soapy surface with gentle pressure.
- Rinse Thoroughly: Rinse under warm running water, squeezing repeatedly to remove soap and residue until clear.
- Dry: Squeeze out excess water with a clean towel and air-dry.
How Often to Clean a Beauty Blender?
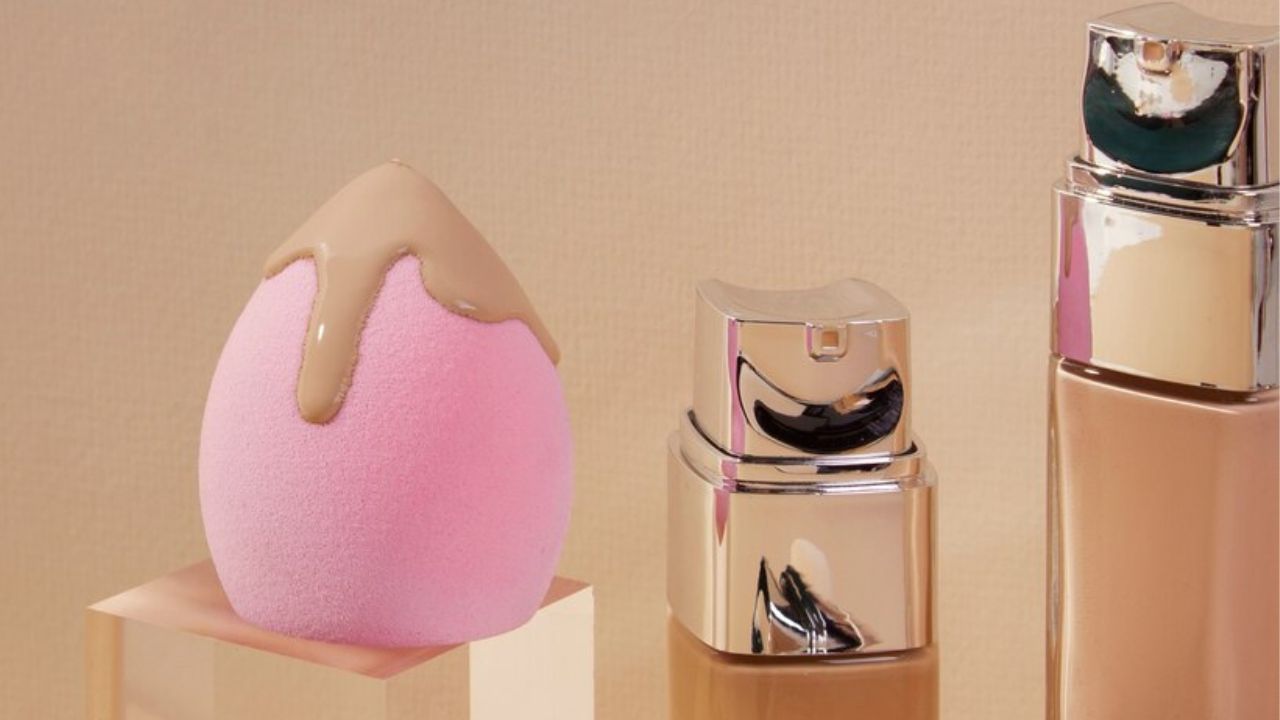
Ideally, clean your blender after every use to prevent bacteria and makeup buildup. If daily cleaning isn’t feasible, aim for at least once a week. Regular cleaning extends the lifespan of your sponge and ensures a smooth, flawless makeup application.
When to Replace Your Beauty Blender?
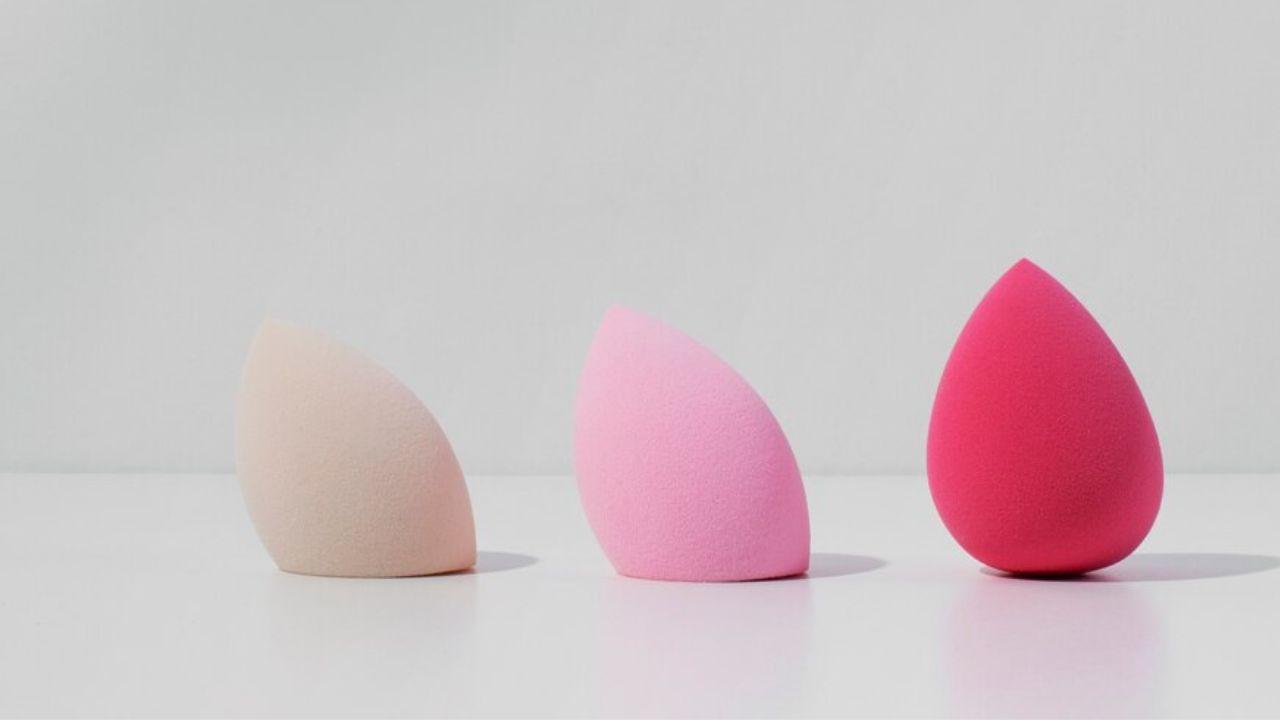
Even with regular cleaning, blenders have a limited lifespan. Replace them every three to four months. Signs it’s time for a replacement include:
- Tears or Damage: Visible tears or shape loss.
- Persistent Stains: Stains that remain despite deep cleaning.
- Texture Changes: Sponge becomes too soft or loses bounce.
Using a worn-out blender can affect makeup application and increase skin issues. Regular replacement ensures better performance and healthier skin.
With our guide on cleaning beauty blenders, you can maintain your makeup tools in top condition. Follow these methods and maintenance tips to ensure your blenders stay effective, helping you achieve a flawless finish every time.
